
Designer advice: From Floor to Ceiling, Unexpected Ways to Use Tiles in the Bathroom

Tiles are often one of the first things we choose for a bathroom, but where we use them deserves just as much thought. Beyond floors and shower walls, they can bring colour to a recessed shelf, turn a bath surround into a focal point or give a vanity a beautiful backdrop. Thinking beyond the usual surfaces opens up fresh possibilities. A change in texture can draw attention to an architectural detail, while a continuous tiled finish can make a simple ledge or dividing wall feel integral to the room. Here, Neil, Senior Designer from Ripples Bath, explores some of the less expected places to use tiles, and how these thoughtful touches can give your bathroom a character all of its own.
Give the vanity a proper backdrop
A tiled vanity splashback may be practical, but it can also become one of the main design features in the room. Rather than restricting tiles to a narrow strip immediately behind the basin, extend them upwards towards the ceiling or outwards beyond the width of the vanity.
This creates a stronger visual zone and gives the mirror, basin and brassware a more deliberate setting. Small-format tiles, mosaics and patterned designs work particularly well because the limited area allows their detail to be appreciated without overwhelming the room. For a calmer look, choose a large-format or stone-effect tile and let its surface provide subtle movement.
Consider the relationship between the tile and the mirror. A tile can act almost like a frame around a simple design, while an unusually shaped mirror can introduce contrast against a regular grid. Wall lights positioned over or beside the tiled area will highlight gloss, texture and tonal variation.
Wrap the bath
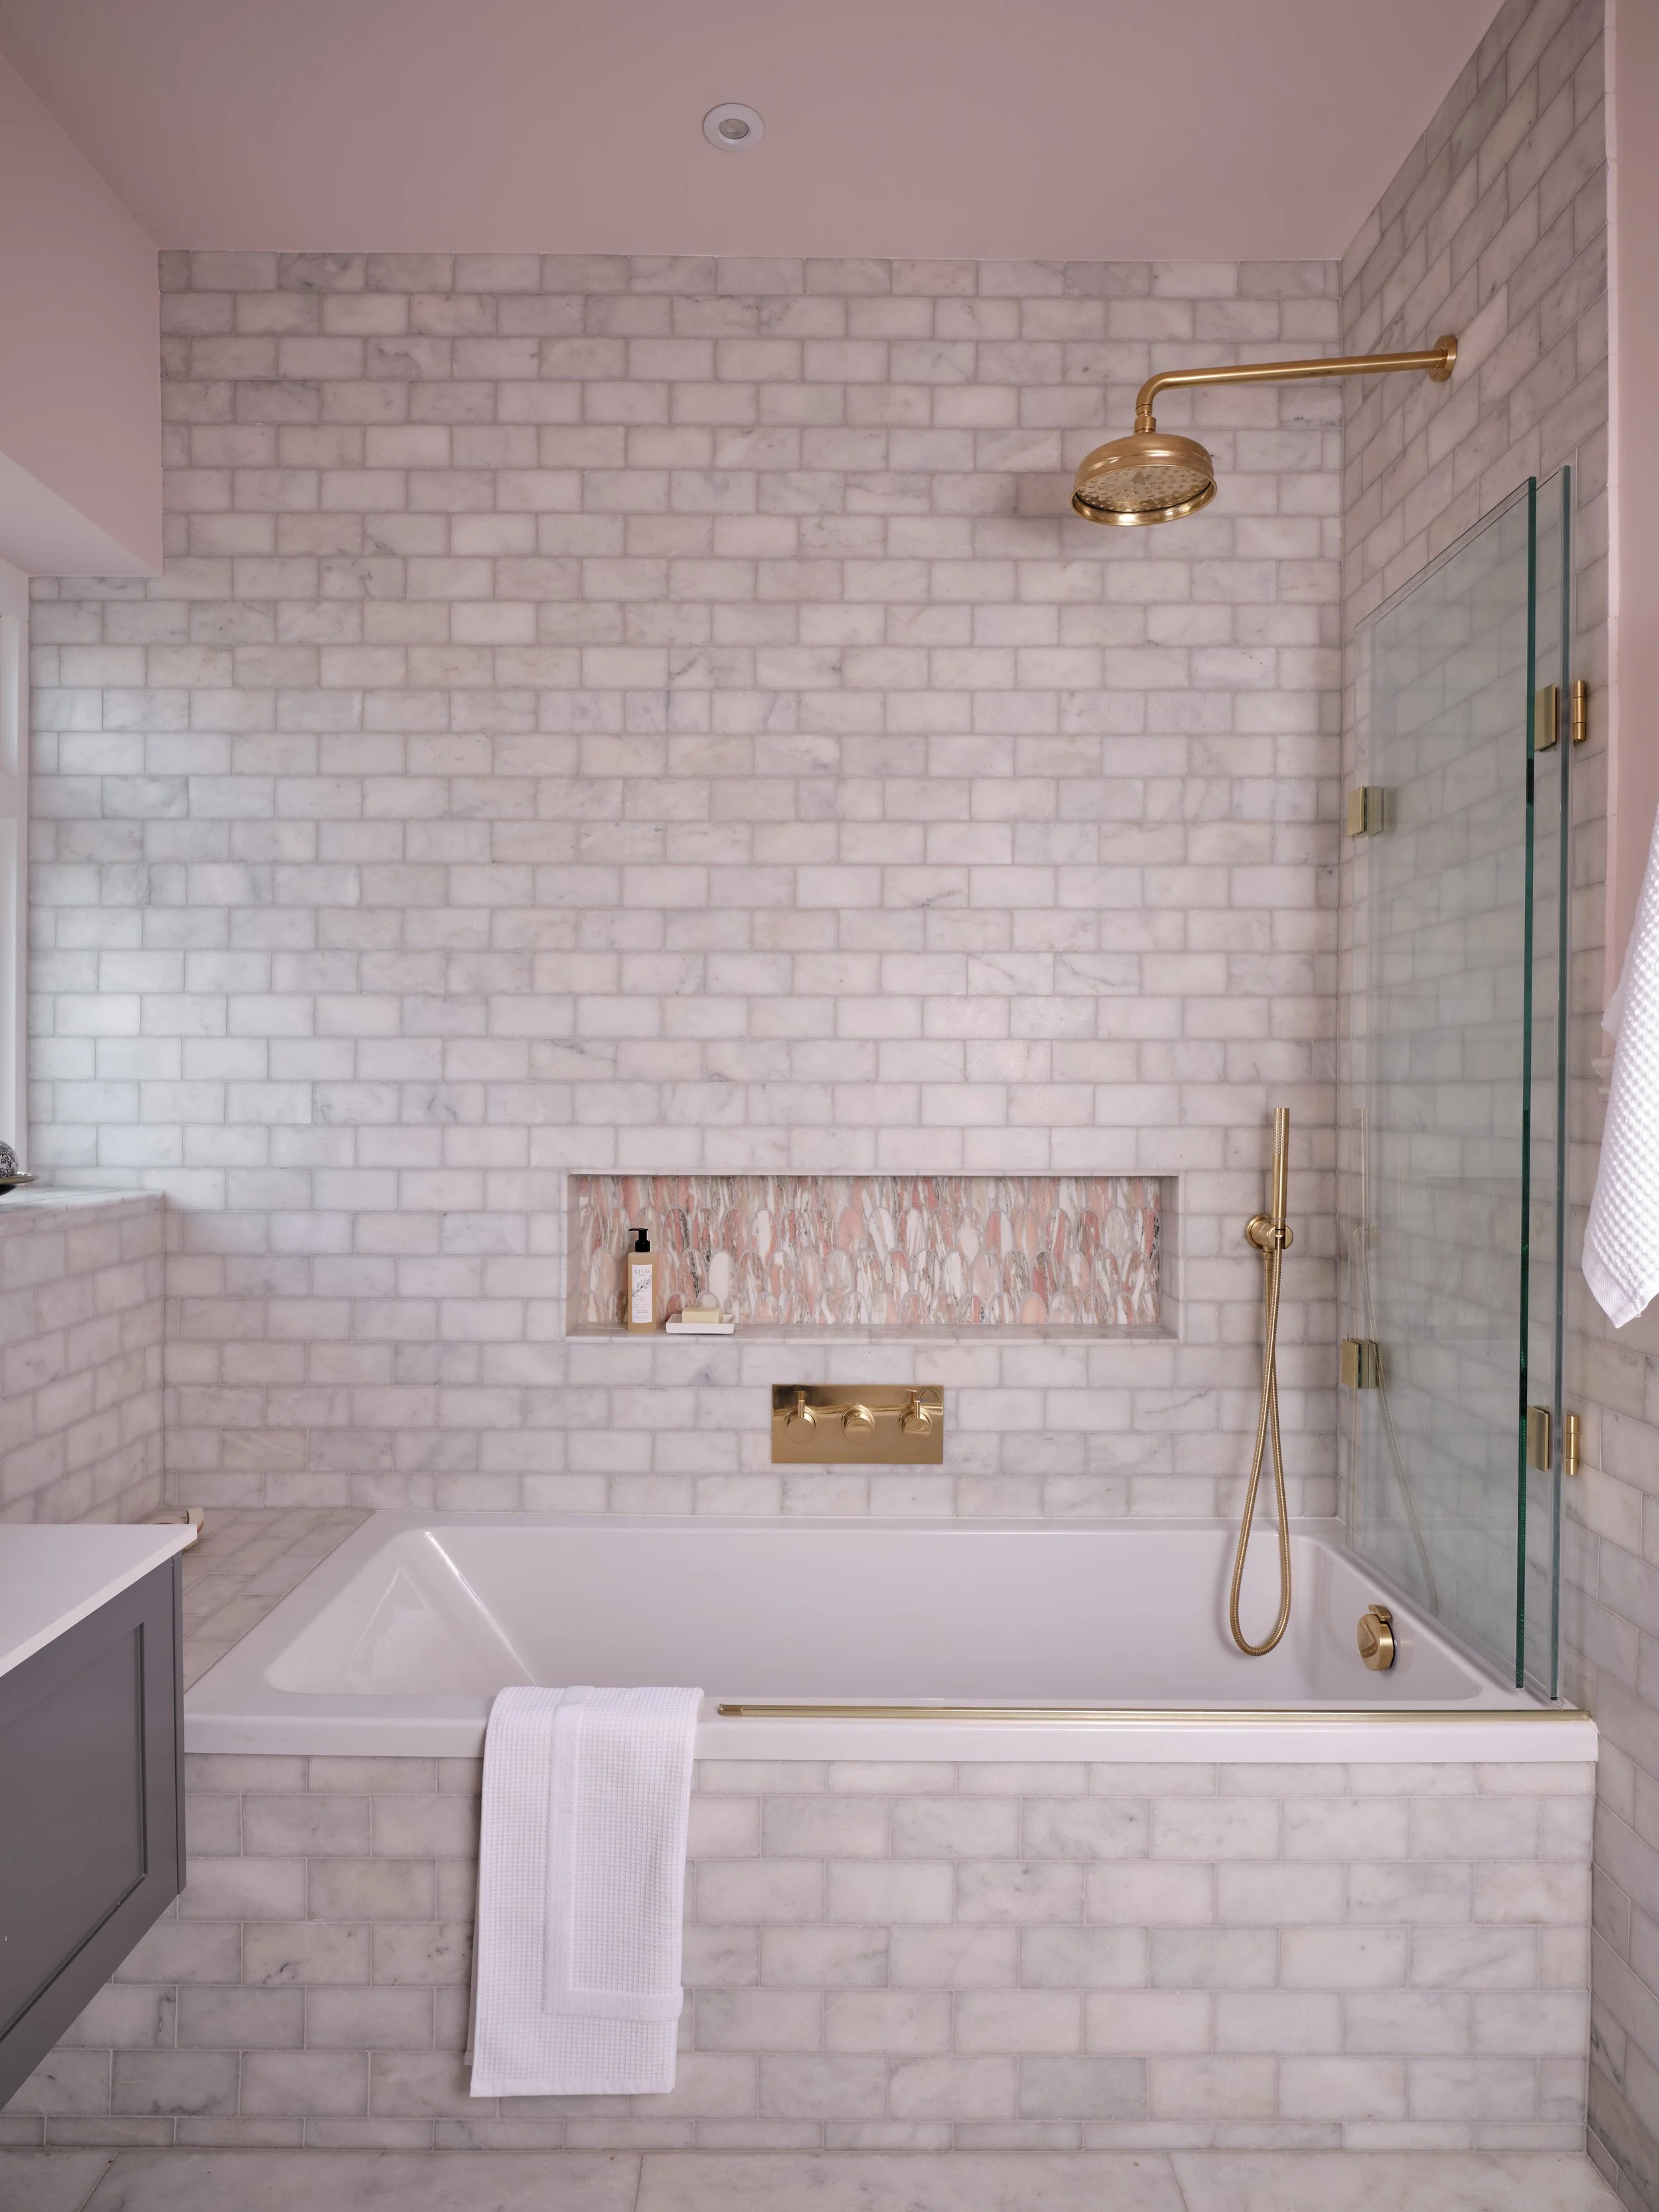
The side of a fitted bath is often treated as a purely functional panel, but tiling it can make the bath feel fully integrated into the room. Using the same tile across the floor and bath surround creates a seamless, built-in effect, while a contrasting tile turns the bath into a focal point.
Small mosaics and kit-kat tiles can follow curves or wrap neatly around corners, making them a good choice for more sculptural shapes. Larger tiles create a cleaner, architectural finish and can make a standard bath appear more substantial.
You can also continue the tile onto the wall behind the bath or across a ledge above it, visually connecting each surface. Planning is important, particularly where access panels are required, but the result can feel much more bespoke than a conventional bath panel.
Take tiles to half height
Half-height tiling offers a balance between colour, texture and visual breathing space. It provides protection where the walls need it most while leaving the upper section available for paint, wallpaper or a contrasting finish.
The dividing line can become part of the design. Align it with the top of the vanity, a window ledge or another architectural feature so that it feels purposeful. A decorative border or contrasting pencil tile can create a crisp finish, while an exposed tile edge gives the scheme a simpler, more contemporary character.
Half-height tiles are especially effective in cloakrooms and family bathrooms. A darker or more expressive tile can be used below, with a lighter paint colour above to prevent the room from feeling enclosed. Alternatively, use a warm neutral tile and introduce richer colour on the upper walls.
Turn a niche into a miniature feature wall
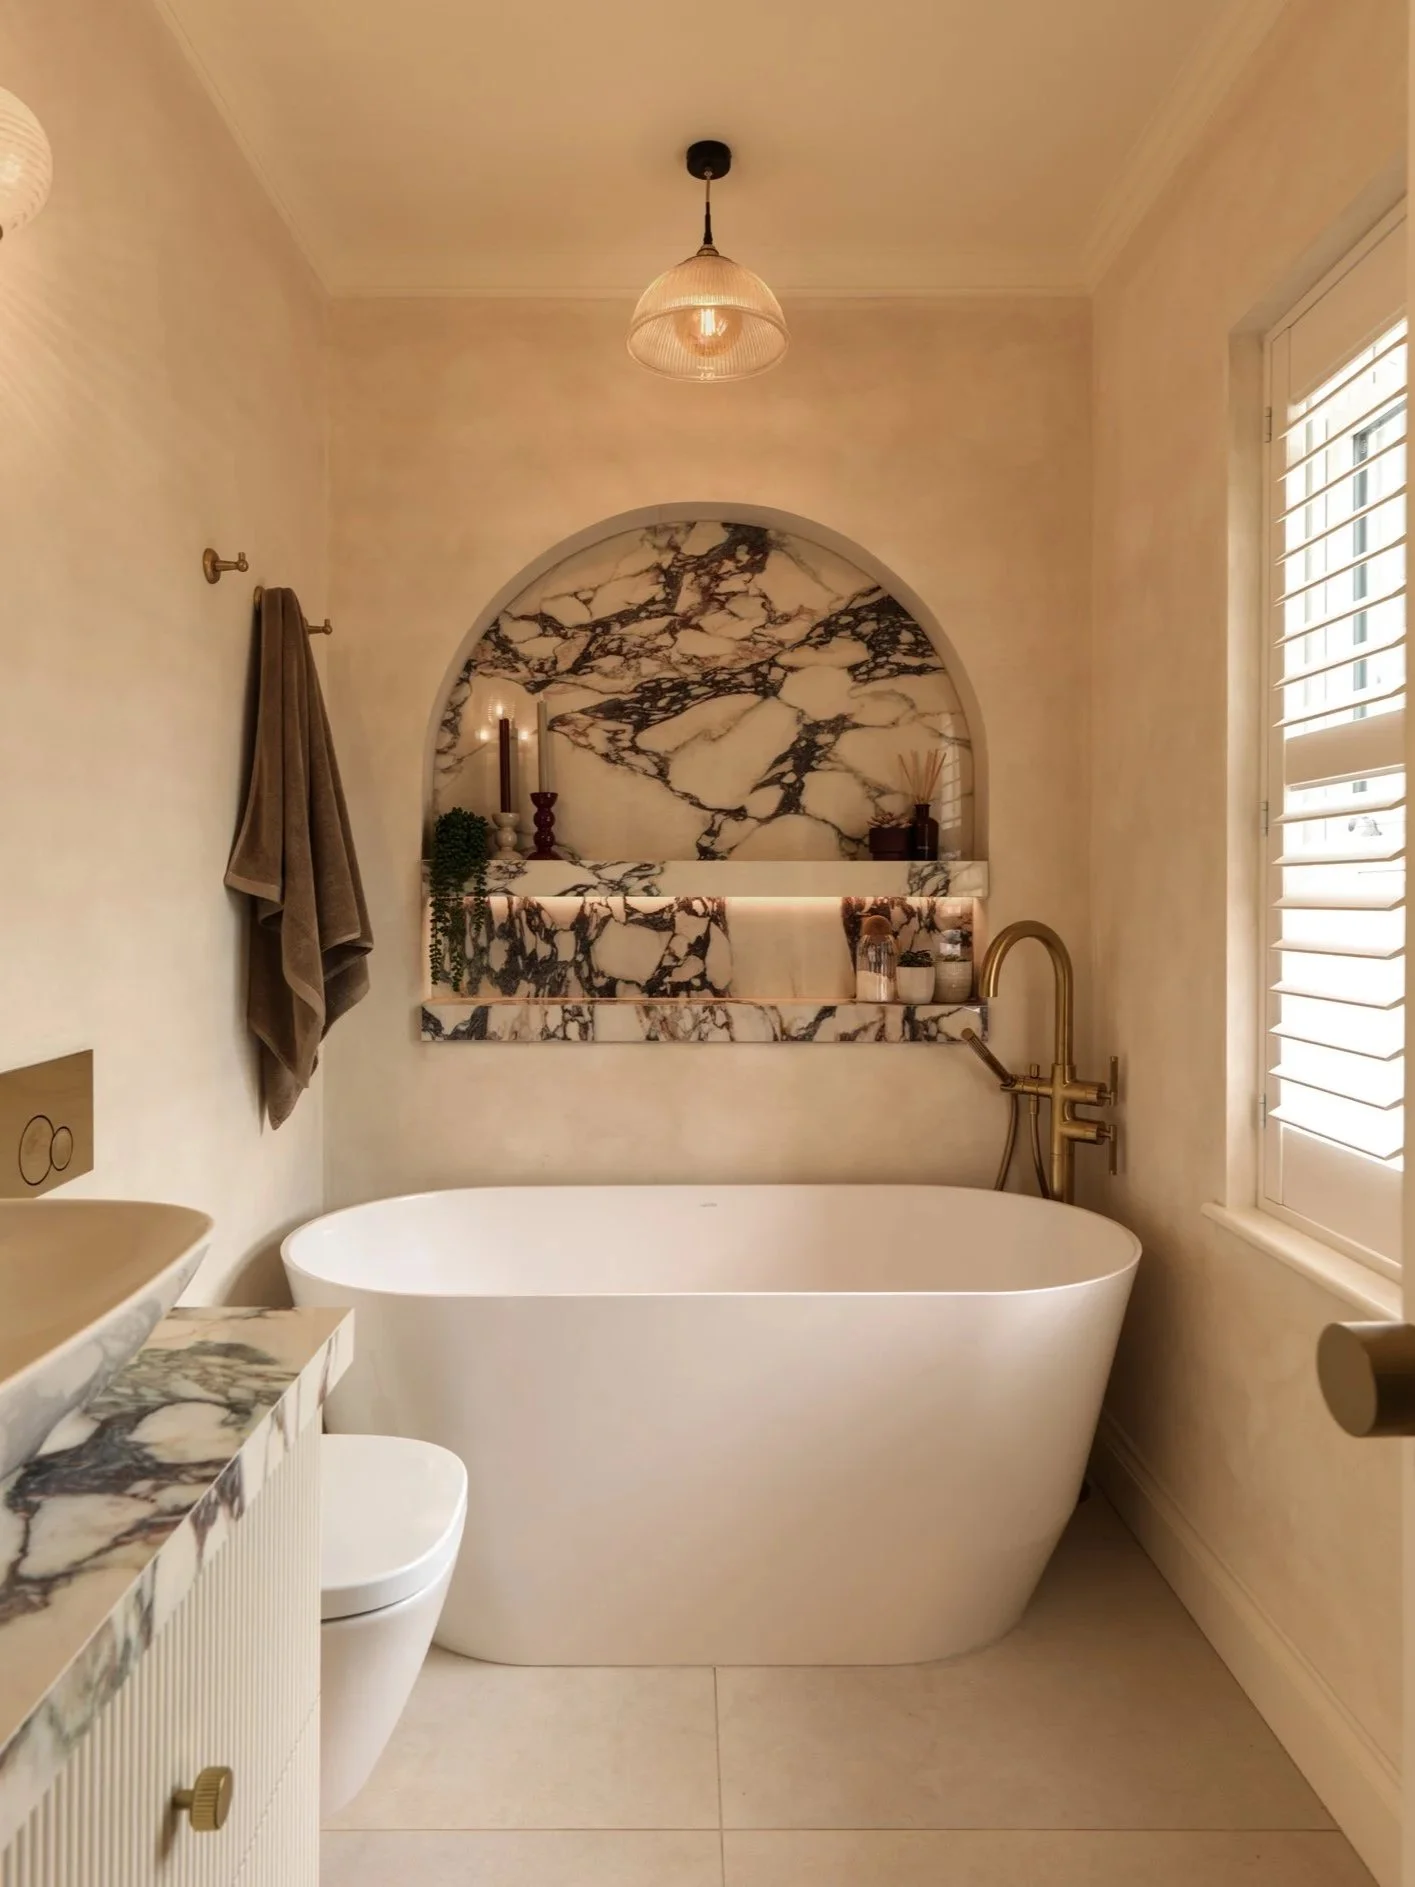
A recessed niche is designed to provide storage, but it also offers the perfect opportunity for a more decorative tile. Lining the back with a contrasting colour, pattern or format gives the niche a distinct identity and draws attention to a beautifully considered detail.
Repeat a tile used elsewhere in the room to make the design feel connected, or introduce a new accent that shares the same palette. A patterned floor tile can reappear within the niche, for example, while a small mosaic might pick up the colour of the vanity or brassware.
Lighting can transform the effect. A discreet light source within the niche will highlight texture and gloss while adding a soft layer of illumination to the shower or bath area. The tile layout should be planned around the niche dimensions so that cuts are balanced and the pattern sits neatly within the opening.
Make open shelving part of the scheme
Open shelves bring useful storage and display space to a bathroom, but tiling around—or even across—them can make them feel integrated rather than added afterwards.
A tiled recess with slim shelves can create the look of bespoke furniture. Continue the main wall tile inside for a seamless finish, or choose a contrasting tile at the back to create depth. In a vanity area, a narrow tiled shelf can provide space for everyday essentials without the visual weight of a full cabinet.
Tiles can also cover a built-out ledge above a concealed cistern or along a bath wall. This provides a durable surface for decorative objects, plants and toiletries while helping the necessary structure become part of the room’s architecture.
Tile a dividing wall
Half walls and dividing screens are often introduced to separate a shower, conceal a WC or create a sense of zoning. Covering these structures in tile ensures they contribute to the design rather than simply breaking up the room.
Use the same tile on every side for a sculptural, block-like finish, or change the tile to give each zone its own personality. A calm stone effect might face the main room while a coloured or textured tile appears within the shower. Tiling the top surface as well as the sides creates a finished look and can provide a useful ledge.
This approach can be especially effective in an open-plan bathroom, where visual boundaries are needed without closing the space completely.
Create a tiled ‘rug’ beneath the vanity or bath
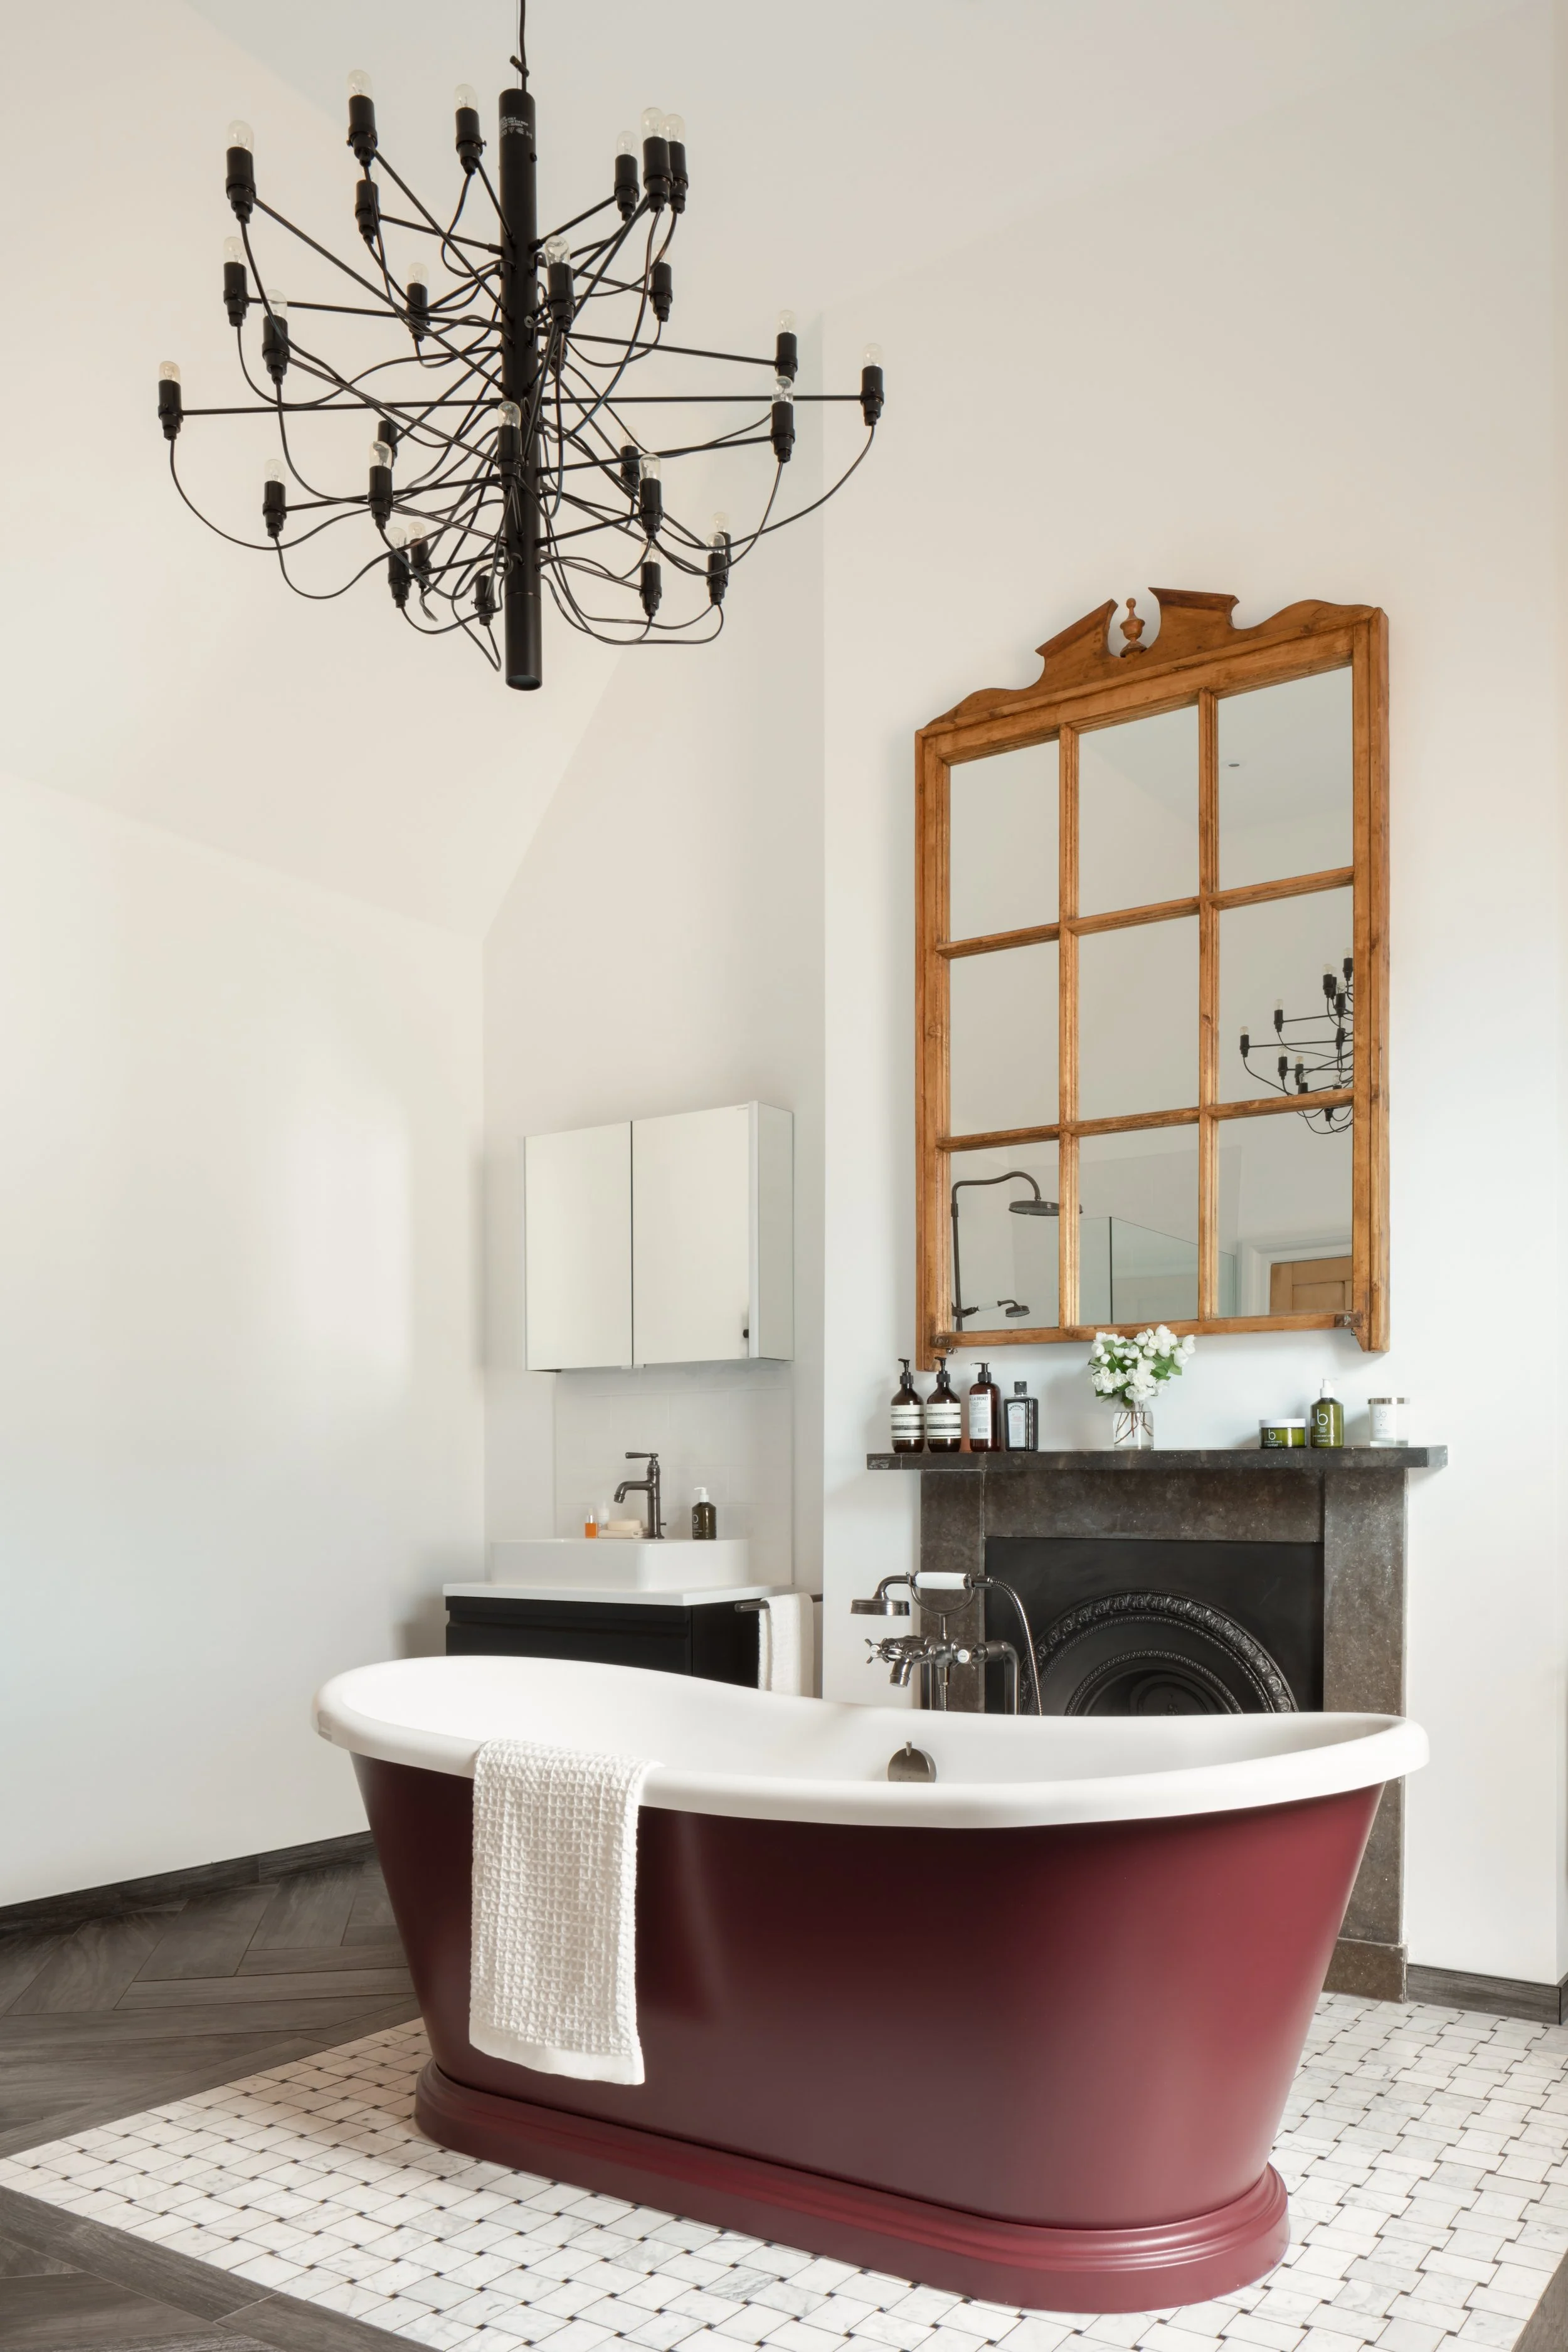
Floor tiles do not have to run uniformly from wall to wall. A contrasting section can be used to create the effect of a rug beneath a freestanding bath, vanity or central feature.
Patterned tiles are a natural choice, but the idea can also be created through a change in colour, scale or laying direction. A border will make the area feel more formal and defined, while an irregular or spliced edge creates a more contemporary transition.
The tiled rug should respond to the proportions of the furniture above it. Allow enough space around the edges for the pattern to be visible, and plan the layout carefully so that it feels centred and balanced within the room.
Treat every surface as an opportunity
Creative tile design is not about covering every part of the bathroom. It is about noticing which surfaces could work harder and deciding where colour, texture or pattern would have the greatest effect.
A single tiled niche may be enough to transform a simple shower. A wrapped bath can make the room feel more bespoke. A feature ceiling can bring drama to the smallest cloakroom. The most successful ideas are those that feel connected to the architecture and have a clear purpose within the overall scheme.
Visit your nearest Ripples showroom to explore our tile collections and discover how our experienced designers can use them in imaginative and unexpected ways. From the floor right up to the ceiling, we can help you create a bathroom that is practical, personal and beautifully considered.
Book a design appointment with your local Ripples showroom today and discover how patterned tiles can transform your bathroom.

For more bathroom advice from our team of specialist bathroom designers, download or request a copy of our free Style Guide.
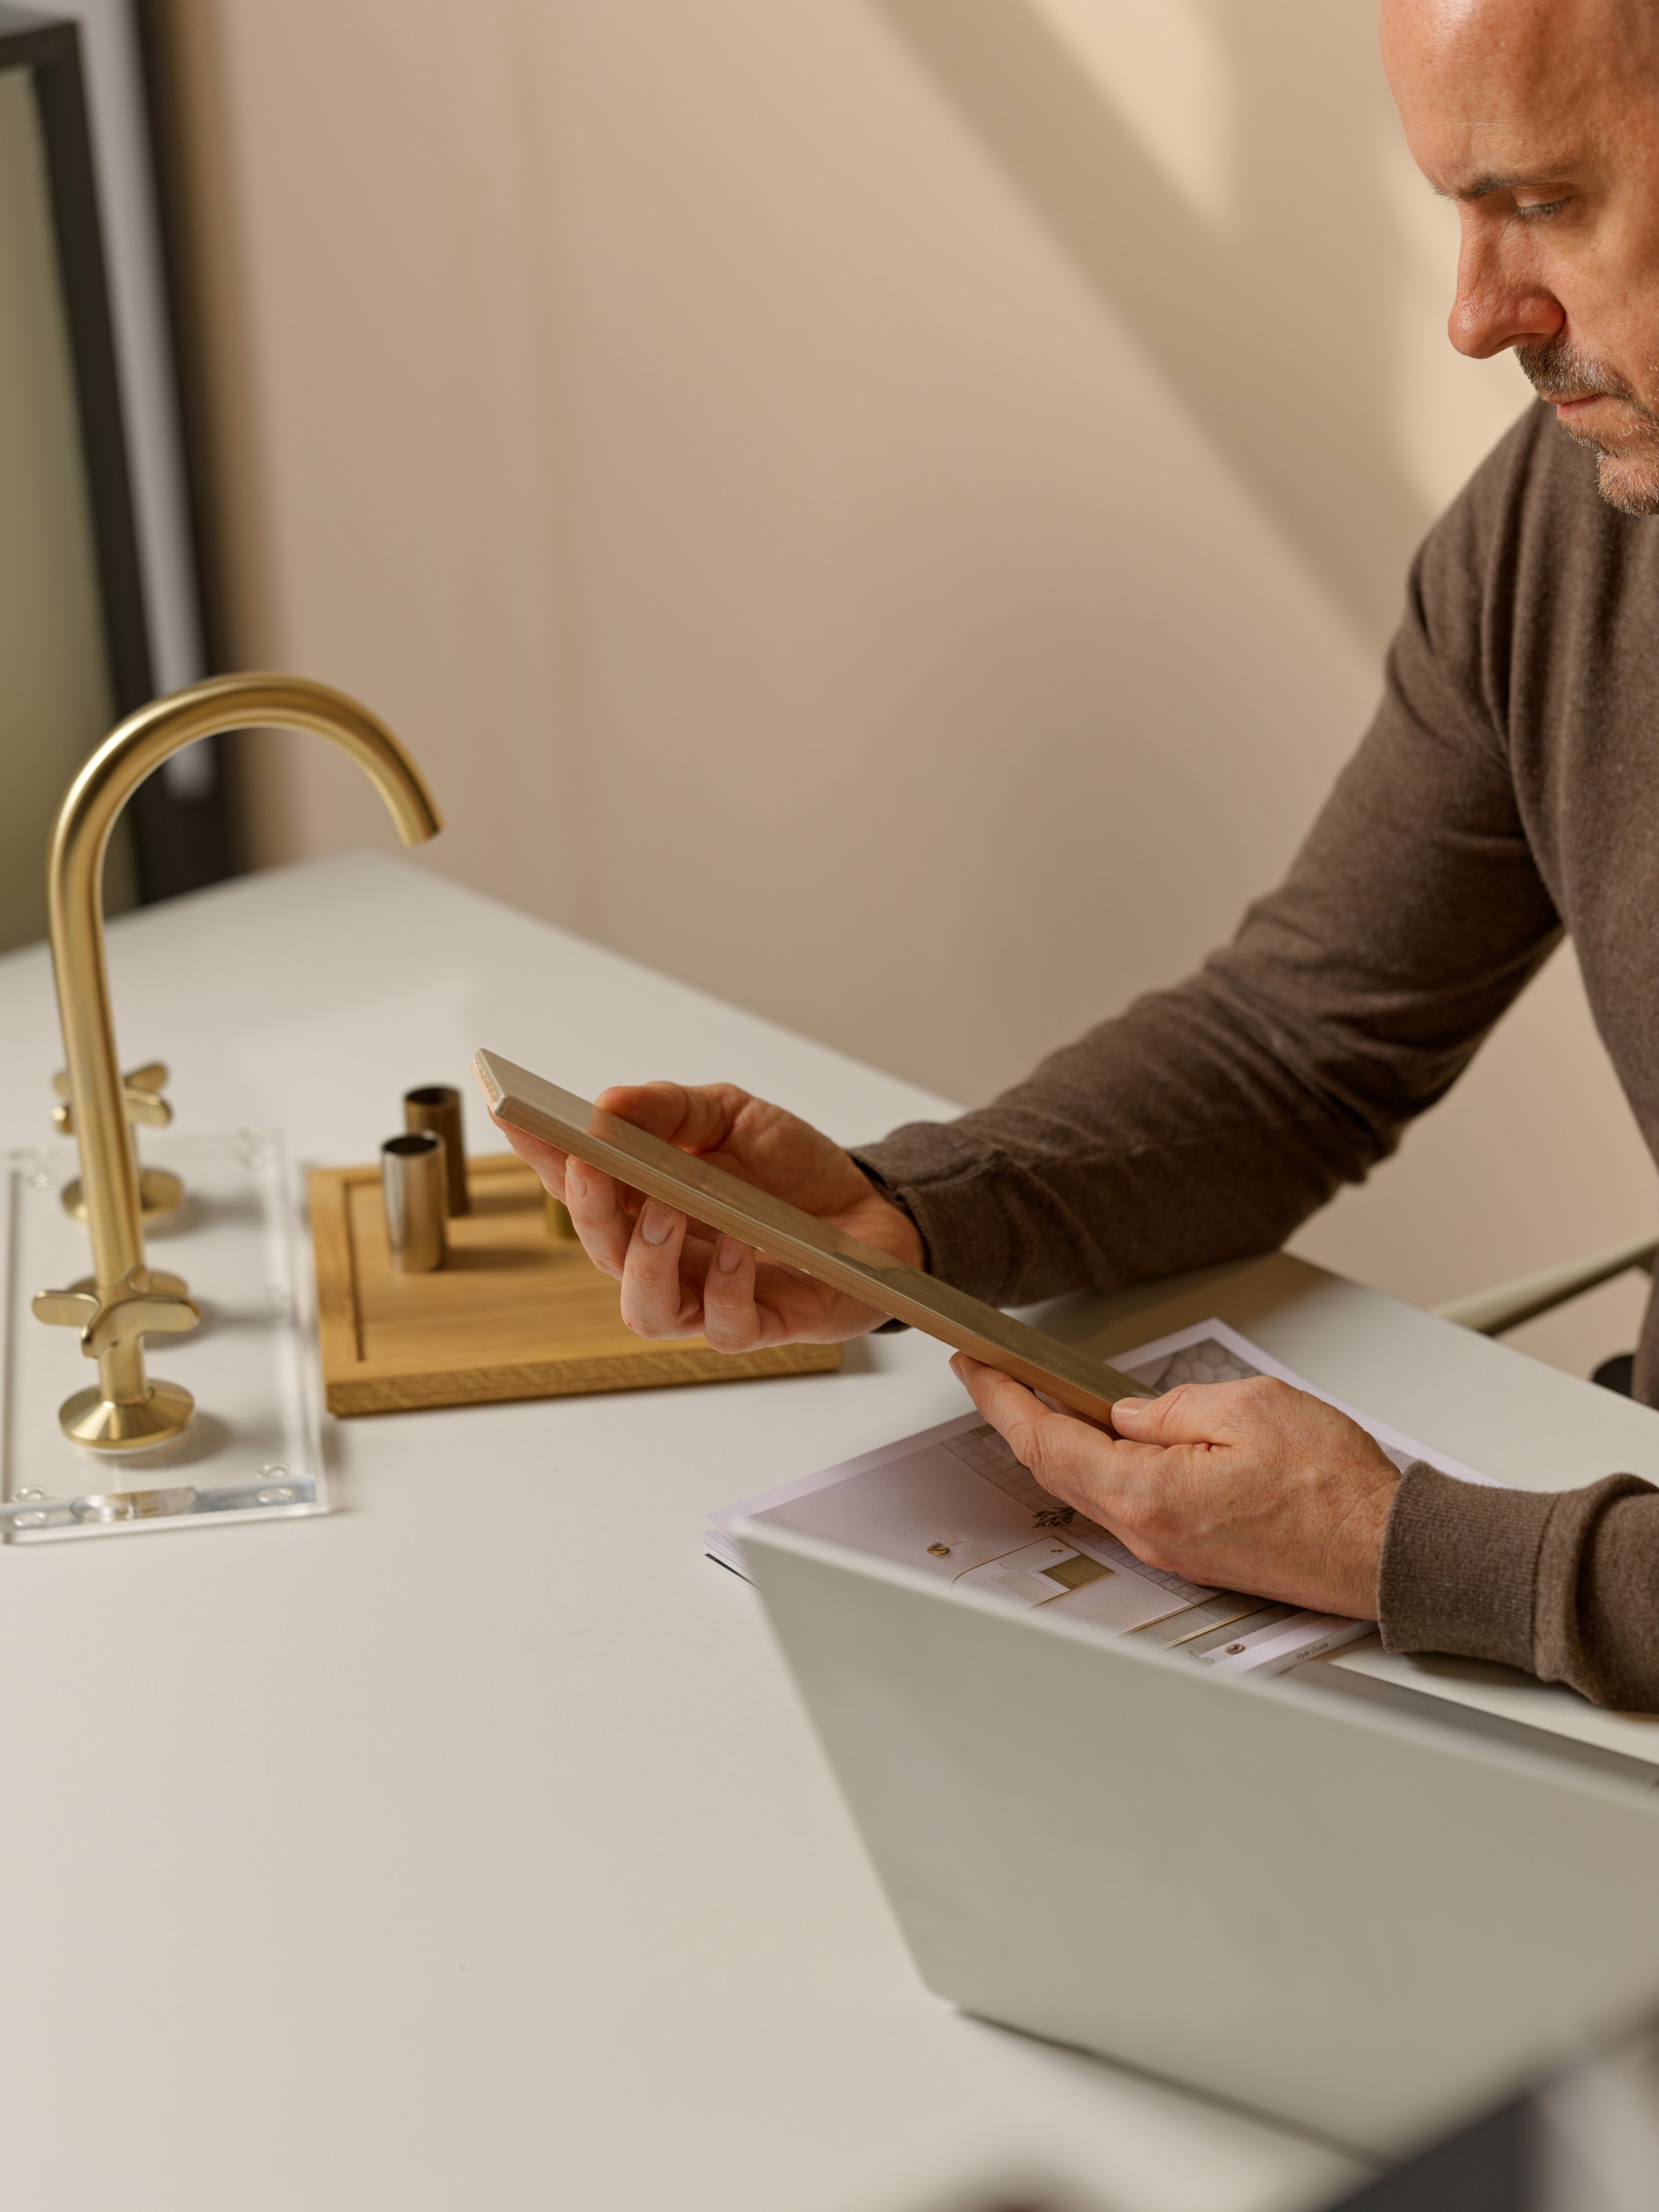
Visit a Ripples bathroom showroom near you to explore our beautiful collection and speak to a specialist bathroom designer about your project.