
Designer advice: Mix, Don’t Match, The New Rules of Combining Bathroom Tiles

Why choose one tile when two, or even three, can create a bathroom with far more depth and personality? From pattern splicing to mixing scale, colour and finish, Here, Chris, Designer from Ripples Bristol, explains how to combine tiles with confidence and keep the result beautifully considered.
There was a time when choosing bathroom tiles meant finding one design and repeating it across every available surface. Today, some of the most interesting bathrooms are created by mixing materials, formats, colours and finishes to give each area its own identity.
The aim is not to make everything match perfectly. In fact, a little contrast is often what makes a scheme feel designed rather than simply coordinated. A patterned floor can sit beside a quiet wall tile. A glossy surface can bring light to a matt stone effect. Large-format tiles can be interrupted by a band of tiny mosaics. When these differences are considered together, they create rhythm, depth and personality.
The secret is knowing when to connect the tiles and when to let them contrast. These are the new rules for mixing without creating chaos.
Rule one: give every tile a role
Before choosing individual designs, decide what you want each tile to do. One might form a calm backdrop; another could define a particular zone and the third may provide a smaller decorative detail.
This creates a clear hierarchy. If every tile is trying to be the main feature, the room can quickly feel busy. Instead, choose a lead tile and allow the others to support it. A patterned floor might be the starting point, with a simple wall tile and a tonal mosaic completing the scheme. Alternatively, a richly coloured shower wall could take centre stage while warm stone-effect tiles provide a quieter foundation elsewhere.
Thinking in terms of roles also helps you decide how much of each tile to use. The boldest design does not always need the largest surface area. Sometimes a tile becomes more powerful when it appears in one carefully chosen place.
Rule two: pattern works best with somewhere to rest
Patterned tiles naturally attract attention, so pairing them with a simpler surface gives the eye somewhere to pause. This does not mean the plain tile has to be boring. Look for gentle tonal variation, a handmade edge, a tactile surface or an interesting glaze to bring quieter character.
A patterned floor and plain walls are a classic combination because they create a strong foundation without enclosing the room. The approach can also be reversed: use a decorative tile within the shower or behind the basin, then keep the floor calm and understated.
To make the pairing feel connected, look for a colour shared by both tiles. This could be an exact match, but it does not have to be. A patterned tile containing rust might sit beautifully beside a warm sand or clay tone, while an inky blue motif could be softened with pale grey-blue walls.
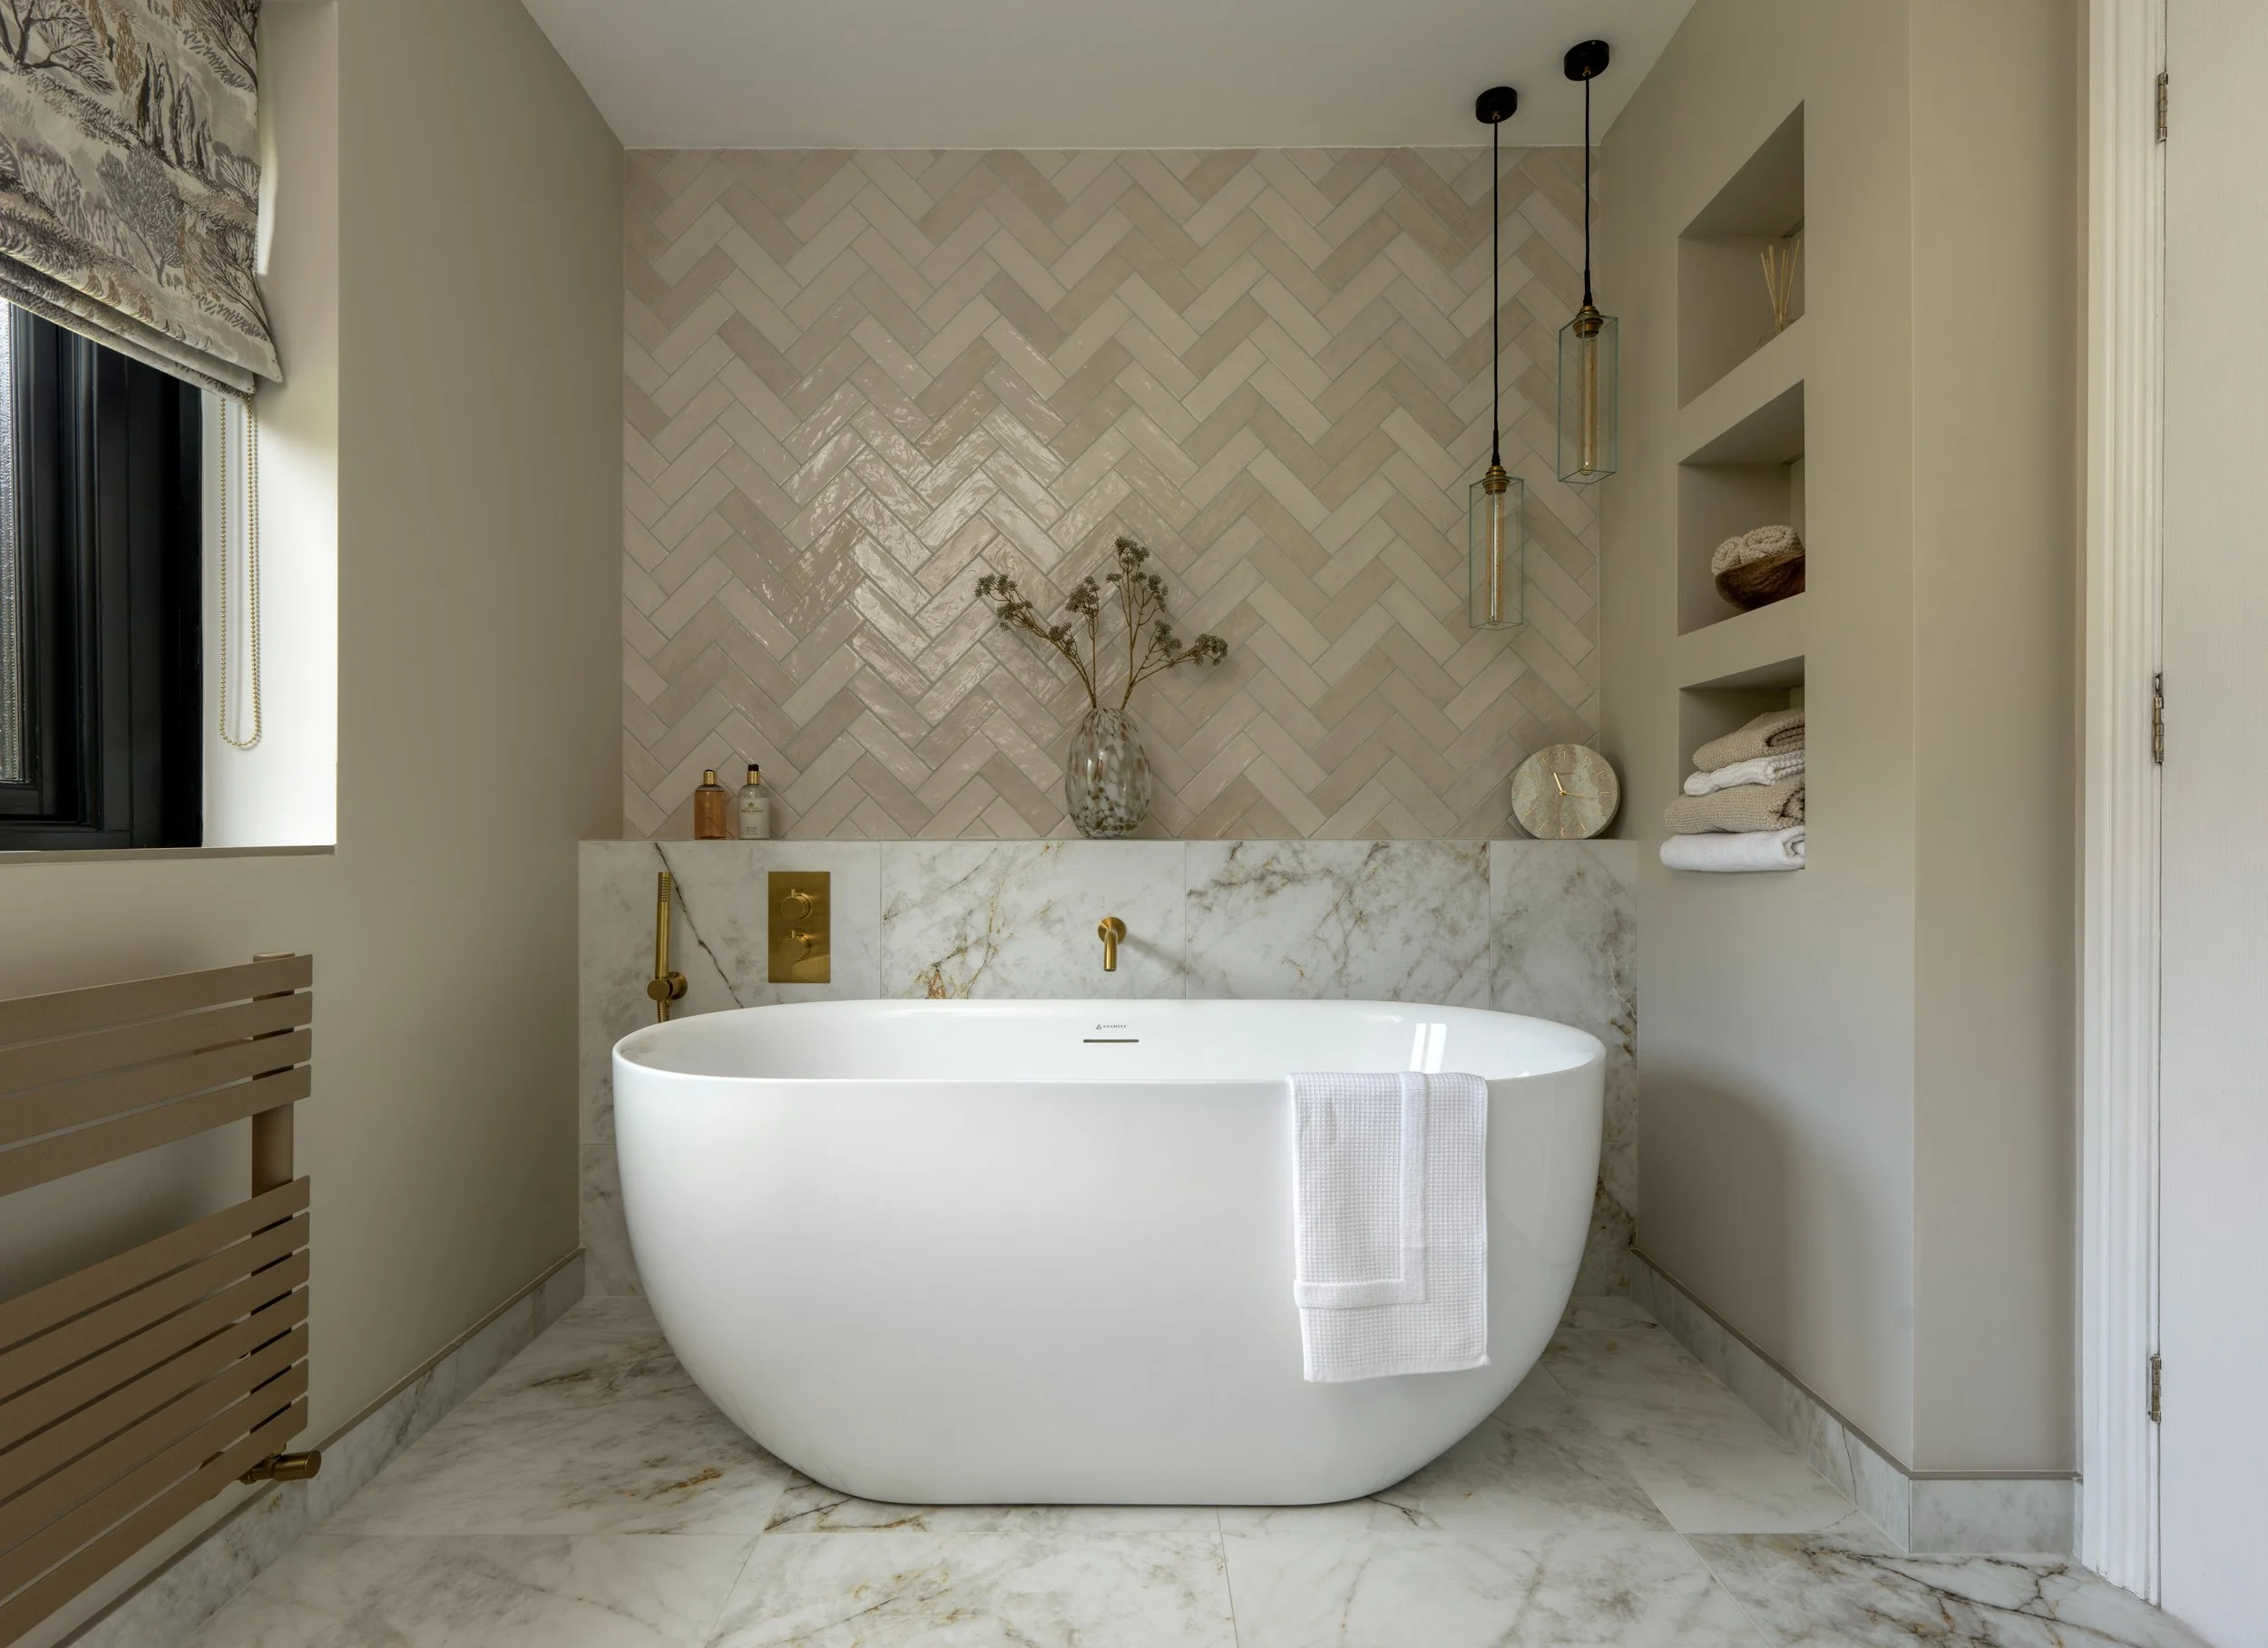
Rule three: mix matt and gloss to create depth
Tiles do not need to be different colours to create contrast. Combining finishes can be just as effective and often more subtle.
A glossy tile reflects light and adds movement, making it a natural choice for splashbacks, shower walls and darker areas. Matt tiles absorb more light and have a softer, more grounded quality. Used together, they can give a tonal bathroom greater depth without disturbing its calm palette.
Try glossy kit-kat tiles against a matt stone-effect floor or use the same colour across two different finishes. The contrast will become more apparent as the light changes throughout the day. This is especially effective in bathrooms with concealed lighting or wall lights that wash gently across the tiled surface.
The finish should also respond to the practical demands of the space. Consider suitability and slip resistance where required, particularly on floors and in shower areas, as well as the visual effect.
Rule four: change the scale
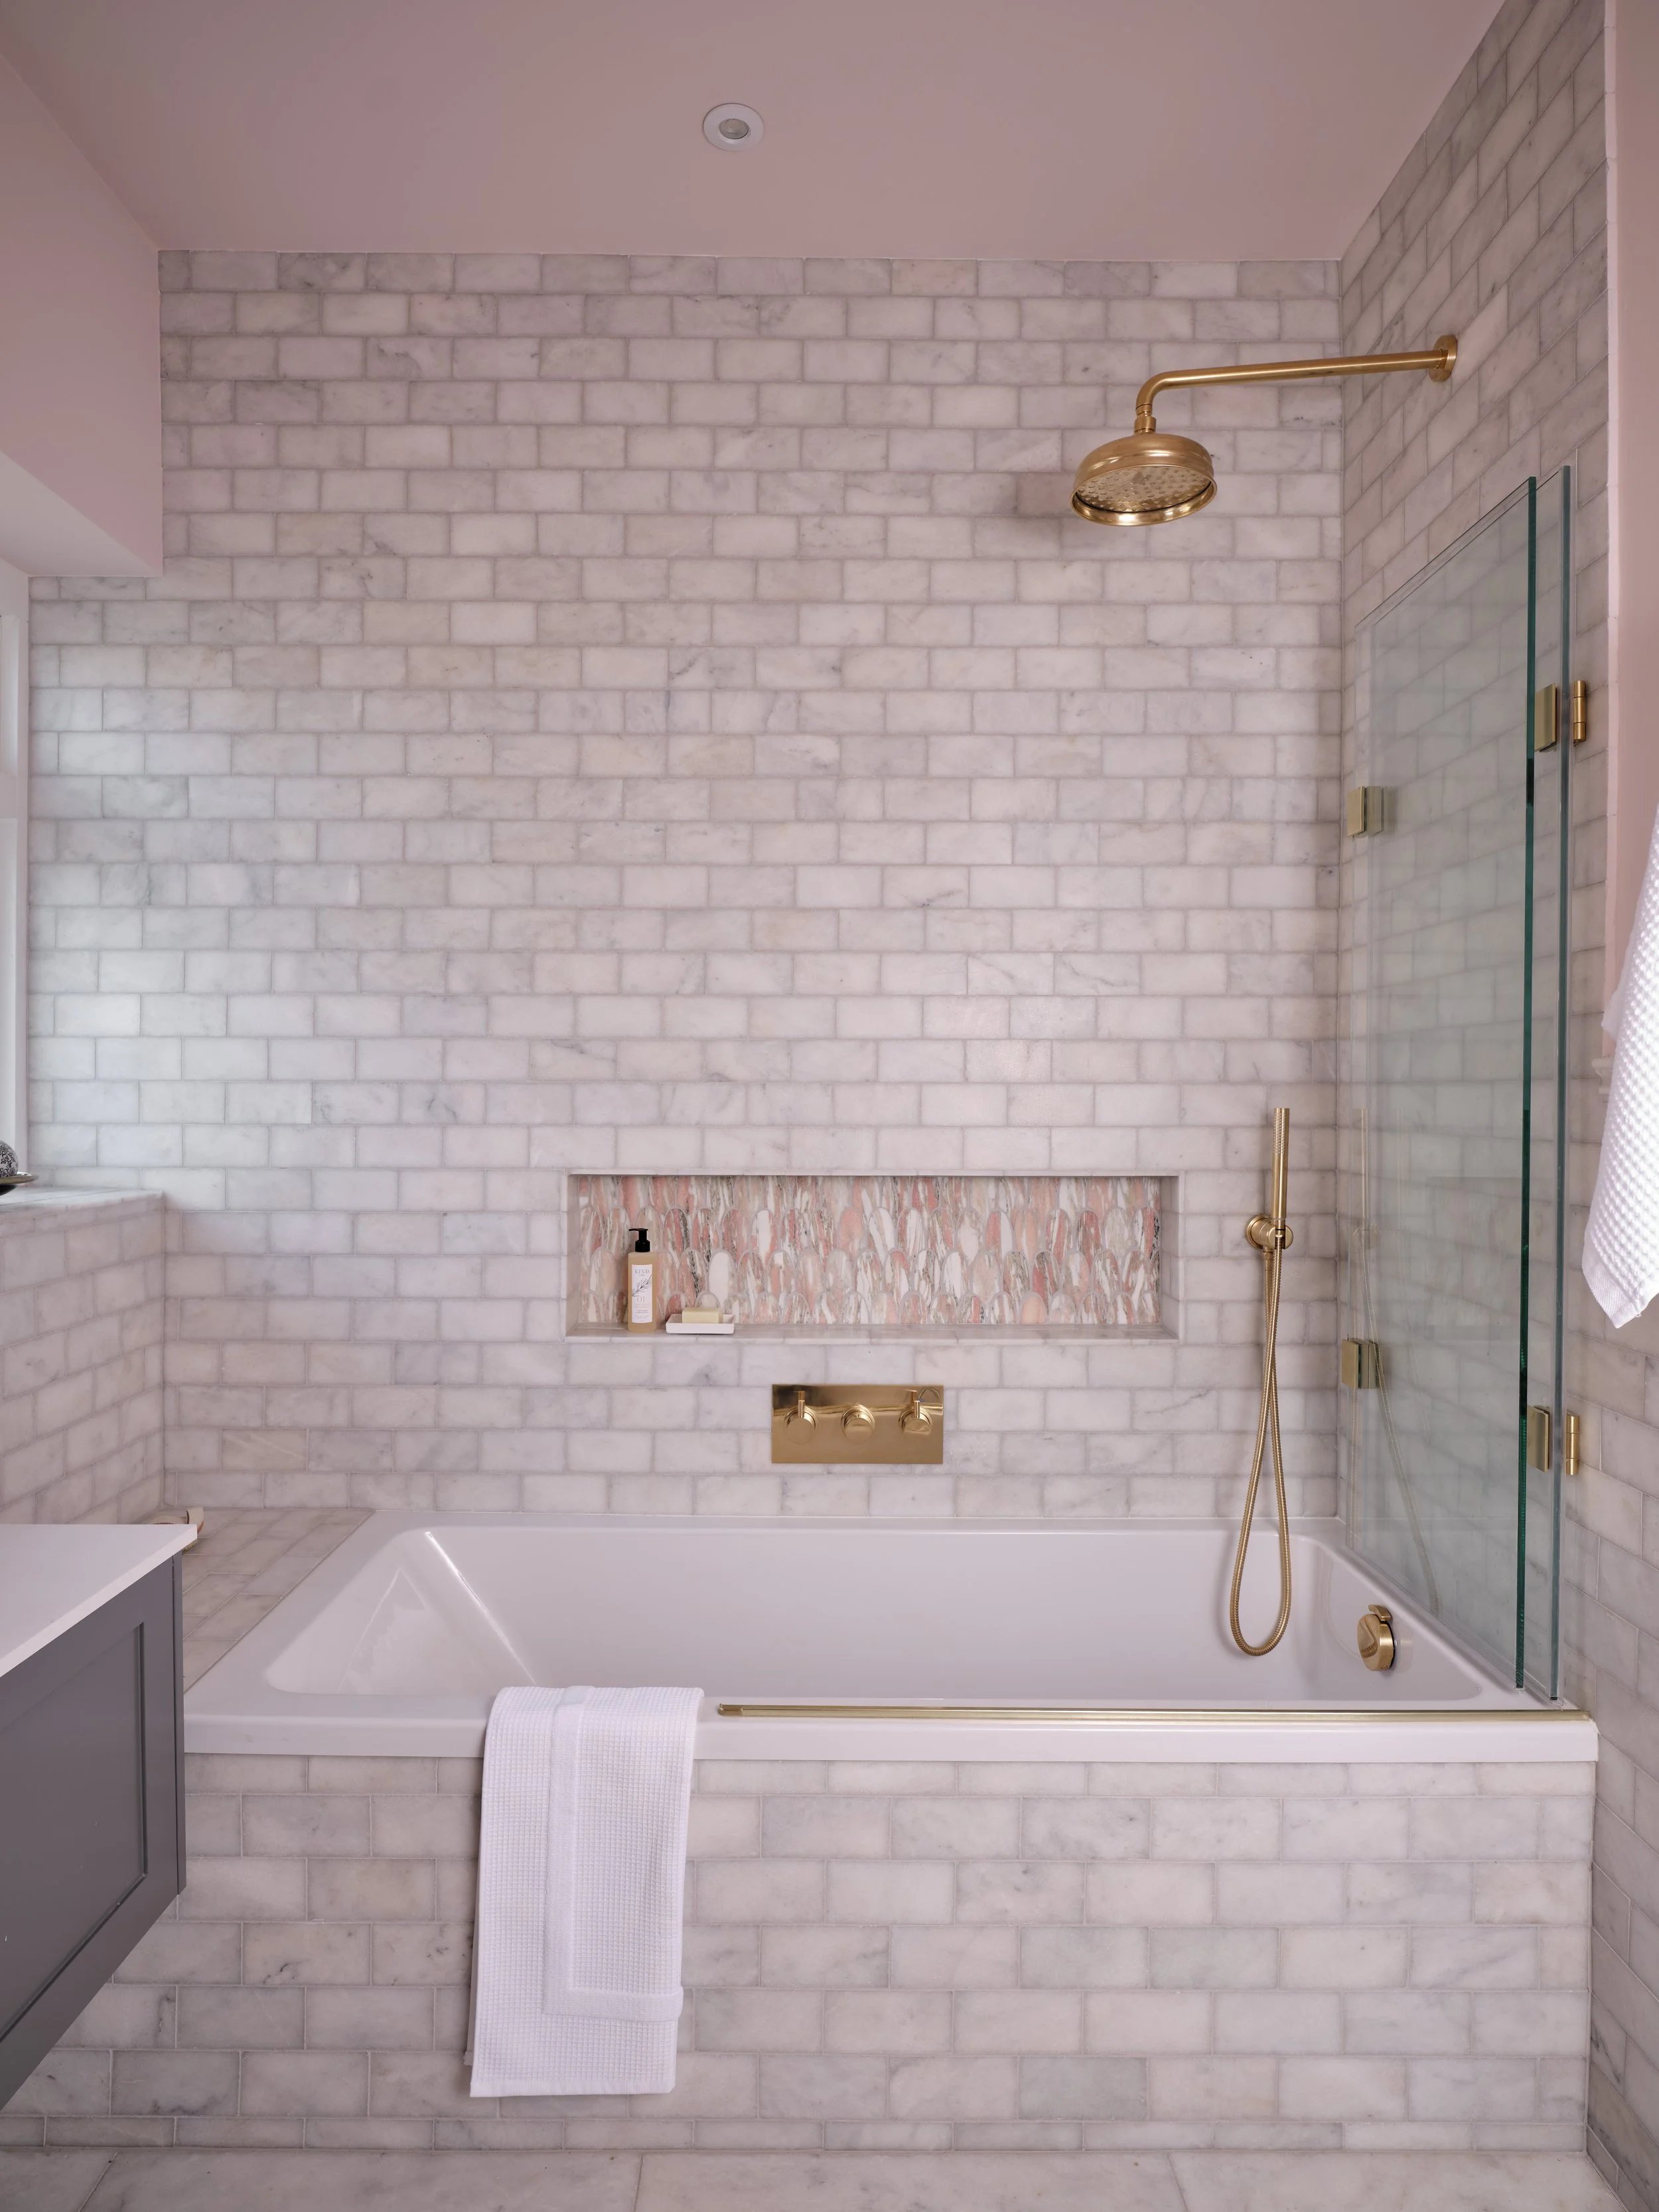
A shower or bath niche may be practical, but it is also the perfect place to have a little fun. Lining the back of a niche with a patterned tile creates a small but impactful focal point and is an ideal way to use a design you love without committing to a whole wall.
This works beautifully with tiles in rich colourways, intricate patterns or contrasting shapes. You could repeat a tile used on the floor to tie the room together, or introduce a completely different design that shares the same tones. Framing the niche with a coordinating tile trim or metal finish will make the detail feel neat and intentional.
Because the area is relatively small, a tiled niche is also a good opportunity to choose something especially decorative or luxurious. It proves that even the most functional details can contribute to the overall character of a bathroom.
Rule five: soften stone effect with colour
Stone-effect tiles are a brilliant foundation for a mixed scheme. Their natural movement provides interest, while their neutral palette makes them easy to combine with colour.
Warm travertine effects look beautiful beside terracotta, olive, ochre and dusty pink. Cooler marble-inspired tiles can be paired with blue, burgundy or forest green for a sharper contrast. Rather than trying to match the coloured tile to every vein or marking, choose one undertone to draw out and build from there.
Colour can be introduced across a whole wall or confined to a smaller area, such as a niche or basin splashback. Both approaches work; the right choice depends on how much energy you want the room to have. Stone provides the visual anchor, allowing the coloured surface to feel expressive without becoming overpowering.
Rule six: let shape provide the contrast
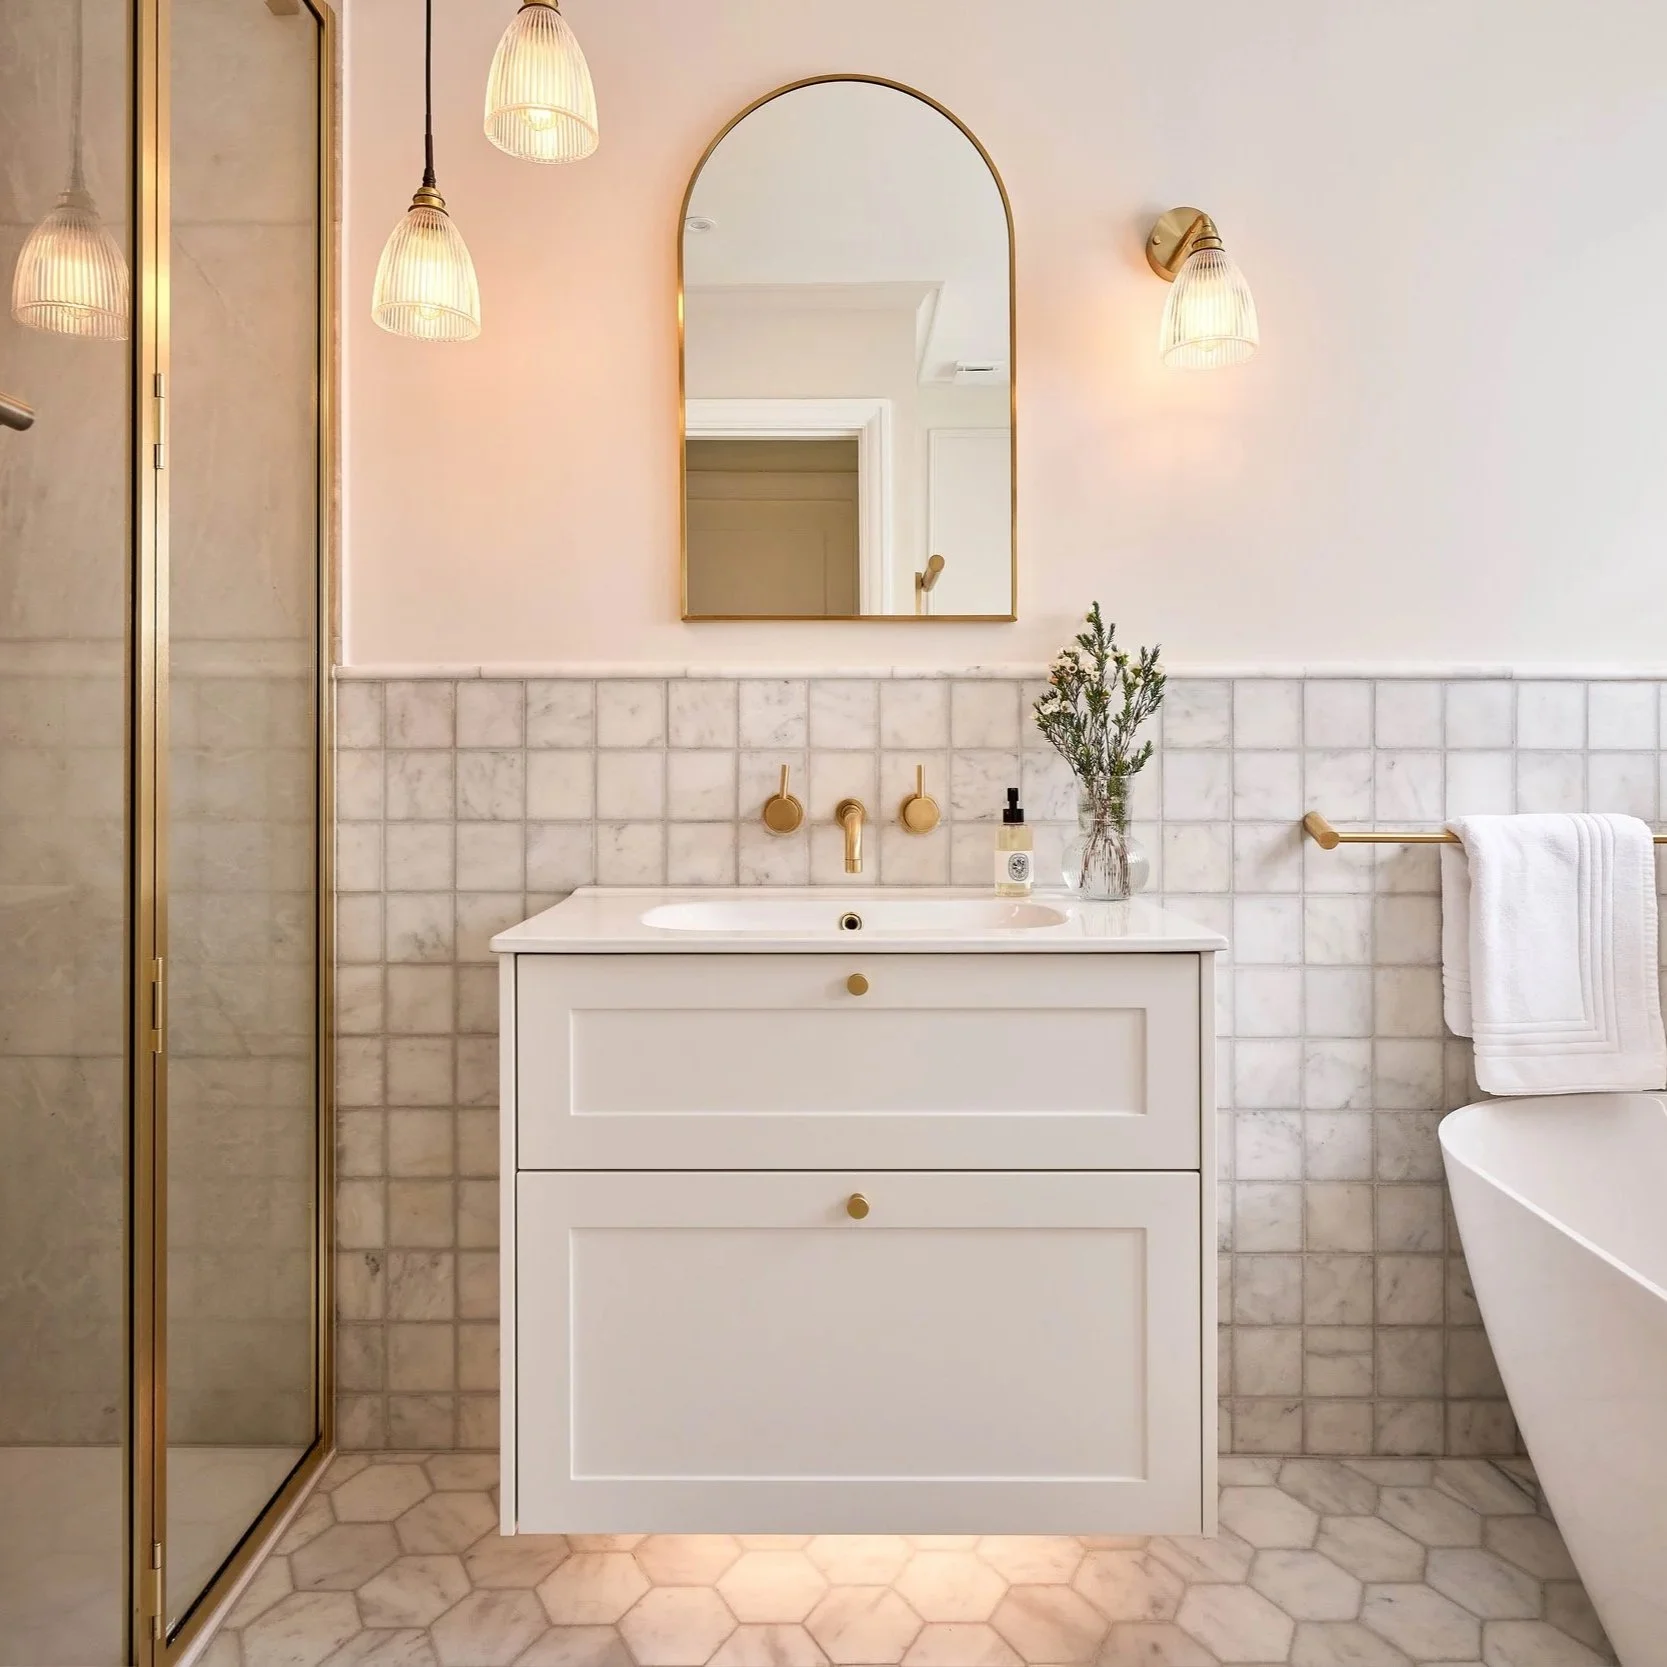
Two tiles can share a colour but feel completely different because of their shape. Pairing a simple square or rectangle with scallops, hexagons, mosaics or slim kit-kat tiles creates interest without introducing another shade.
This is particularly useful in a small bathroom where a complex colour palette might feel too much. A soft green square tile on the main walls could be combined with a tonal green mosaic inside the shower. Similarly, a neutral rectangular wall tile might meet a small hexagonal floor in the same warm white.
Grout will influence how clearly the shapes are read. Matching grout allows the overall colour to flow, while contrasting grout makes the geometry more graphic. When combining several shapes, tonal grout is often the calmer choice because it prevents every line from competing for attention.
Rule seven: use pattern splicing to make the transition the feature
Pattern splicing takes the point where two tiles meet and turns it into part of the design. Rather than finishing one surface with a straight border before beginning the next, the tiles appear to weave, break or dissolve into one another.
This works particularly well with geometric tiles whose individual shapes can be followed. Hexagonal floor tiles might gradually merge into timber-effect or plain porcelain tiles, for example, creating an irregular edge rather than a conventional threshold. Patterned tiles can also be interspersed with coordinating plain versions, allowing the motif to become denser or more sparse across a wall.
The technique feels playful and unexpected, but it requires precise planning. The tile dimensions, depths and grout joints must work together, and the final pattern should be mapped before installation begins. Used well, pattern splicing can define a shower, frame a vanity or create a transition between the bathroom and adjoining space without relying on a hard visual line.
For a quieter interpretation, splice two tiles in similar colours but different finishes. For greater impact, use contrast and allow the irregular meeting point to become one of the room’s main features.
Rule eight: repeat one element
When using two or three tiles, repetition is what brings the room back together. This could be a colour, material, shape, finish or even the direction in which the tiles are laid.
A burgundy shower tile might pick up a small detail within a patterned floor. A brass-coloured fleck in a mosaic could be repeated through the taps and handles. Two completely different tiles might both be laid vertically, creating a shared rhythm despite their contrasting scale.
The repeated element does not need to be immediately obvious. Often, the most successful schemes feel cohesive before you can identify exactly why. These subtle connections create a sense that every choice belongs in the same room.
Rule nine: know when three is enough
There is no fixed limit on the number of tiles you can use, but three is a helpful guide for most bathrooms. It offers enough variety to create layers while remaining manageable.
A simple formula is one floor tile, one main wall tile and one accent tile. In some rooms, the floor and wall may use the same tile, leaving space for two smaller features. In others, two tiles will be more than enough. The size of the bathroom, the strength of each design and the number of visible surfaces should all influence the decision.
If the scheme begins to feel crowded, remove the tile with the least distinct purpose. A successful mix is not about including as many favourites as possible; it is about giving each choice the space to make a contribution.
Rule ten: view everything together
Tiles are rarely chosen in isolation. They need to sit comfortably alongside the sanitaryware, furniture, brassware, paint colours and lighting in the finished room.
Collect physical samples and look at them together, ideally in the bathroom itself. Natural light can change undertones dramatically, while evening lighting will affect gloss, texture and contrast. Place samples both vertically and horizontally, as a tile can look very different on the wall than it does lying flat.
It is also important to consider where each change of tile will happen. Corners, alcoves, screens, baths and furniture can all provide natural stopping points. A bathroom designer can visualise the complete room, refine the proportions and plan the transitions so the mix feels intentional from every angle.
Break the matching habit
Combining tiles is less about following a rigid formula and more about creating relationships. Pattern needs calm, gloss comes alive beside matt, small formats gain impact against larger surfaces and colour feels richer when grounded by stone.
The goal is not perfect coordination. It is a bathroom with contrast, rhythm and enough confidence to feel personal. By giving every tile a role and repeating just enough to create connection, you can be braver with your choices without losing a sense of balance.
Visit your nearest Ripples showroom to explore our tile collections and discover how our experienced designers can combine colour, pattern, scale and finish in a way that is completely tailored to your bathroom. Book a design appointment with your local Ripples showroom today.

For more bathroom advice from our team of specialist bathroom designers, download or request a copy of our free Style Guide.
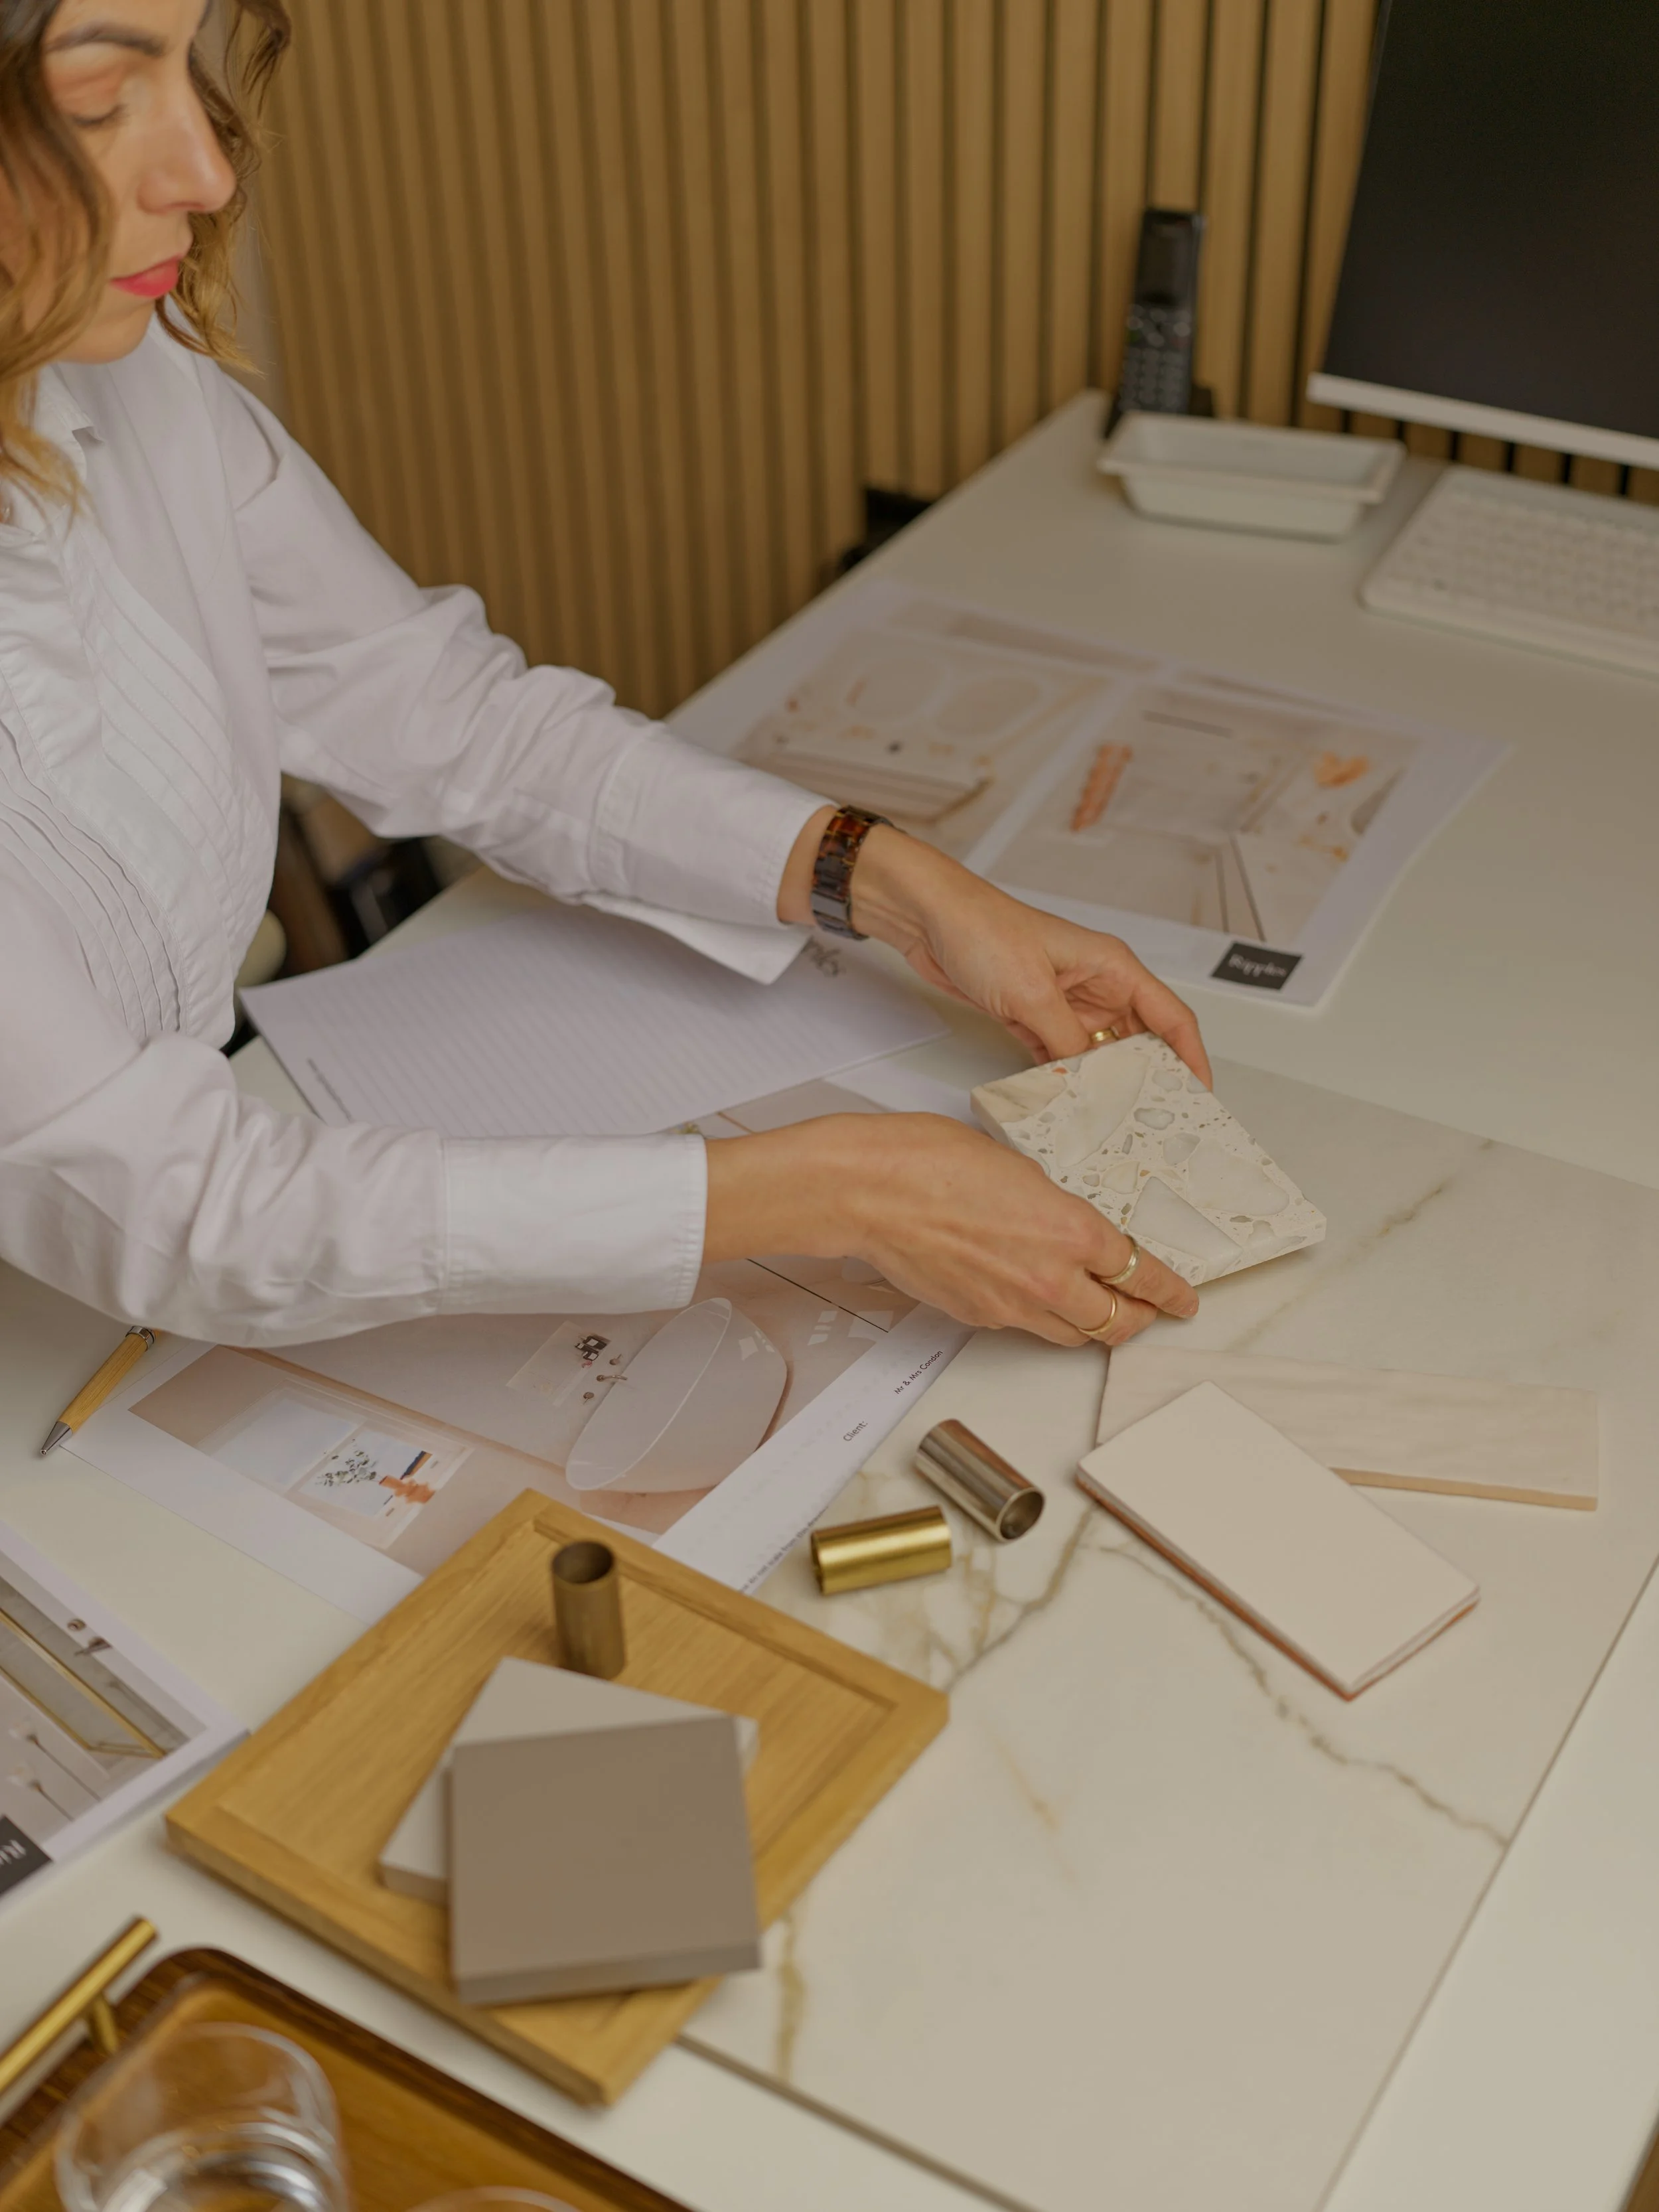
Visit a Ripples bathroom showroom near you to explore our beautiful collection and speak to a specialist bathroom designer about your project.